Running Ember CLI Tests on Jenkins CI
Posted on 22 March 2015 by Ben Limmer
![]()
This post will walk you through running Ember CLI testem tests running with Jenkins CI.
Initial Setup
First, you’ll need to get Jenkins all set up. Here are some helpful guides to get you up and running:
Plugin Setup
You’ll need a few plugins to run ember-cli on your Jenkins instance:
-
NodeJS Plugin The Node plugin will add support for running the
embercommand in the job shell.-
Install a current version of node At the time of this writing 0.12.0 is what you’ll want to install.
-
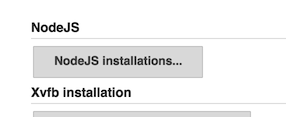
Navigate to Manage Jenkins

-
Click NodeJS Installations
-
Configure NodeJS Installation
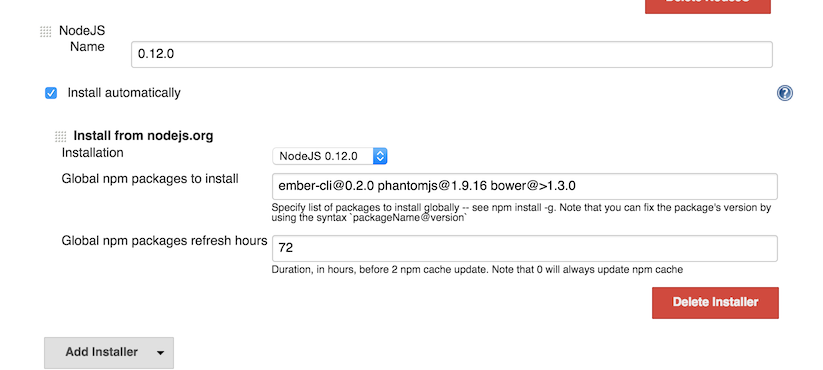
Choose “Install from nodejs.org” and choose a current version. You’ll want to install ember-cli, phantom, and bower as global packages. You can see that I always peg the versions to prevent issues when a new version is released.
-
-
TAP Plugin This will allow Jenkins to display results from the testem test suite run. Install it through the Plugin Manager and you’re set.
-
GitHub Plugin I’m assuming you’re using GitHub to store your source code. If you’re not, you’ll need to do some research to figure out how to automatically build your project on push.
The plugin documentation site will walk you through all the configuration steps you’ll need.
Job Setup
Now we’re ready to configure our job to run our test suite.
-
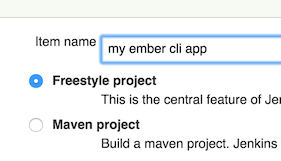
Create a new job I’ve had the best luck with the Freestyle Projects.
-
Configure the job
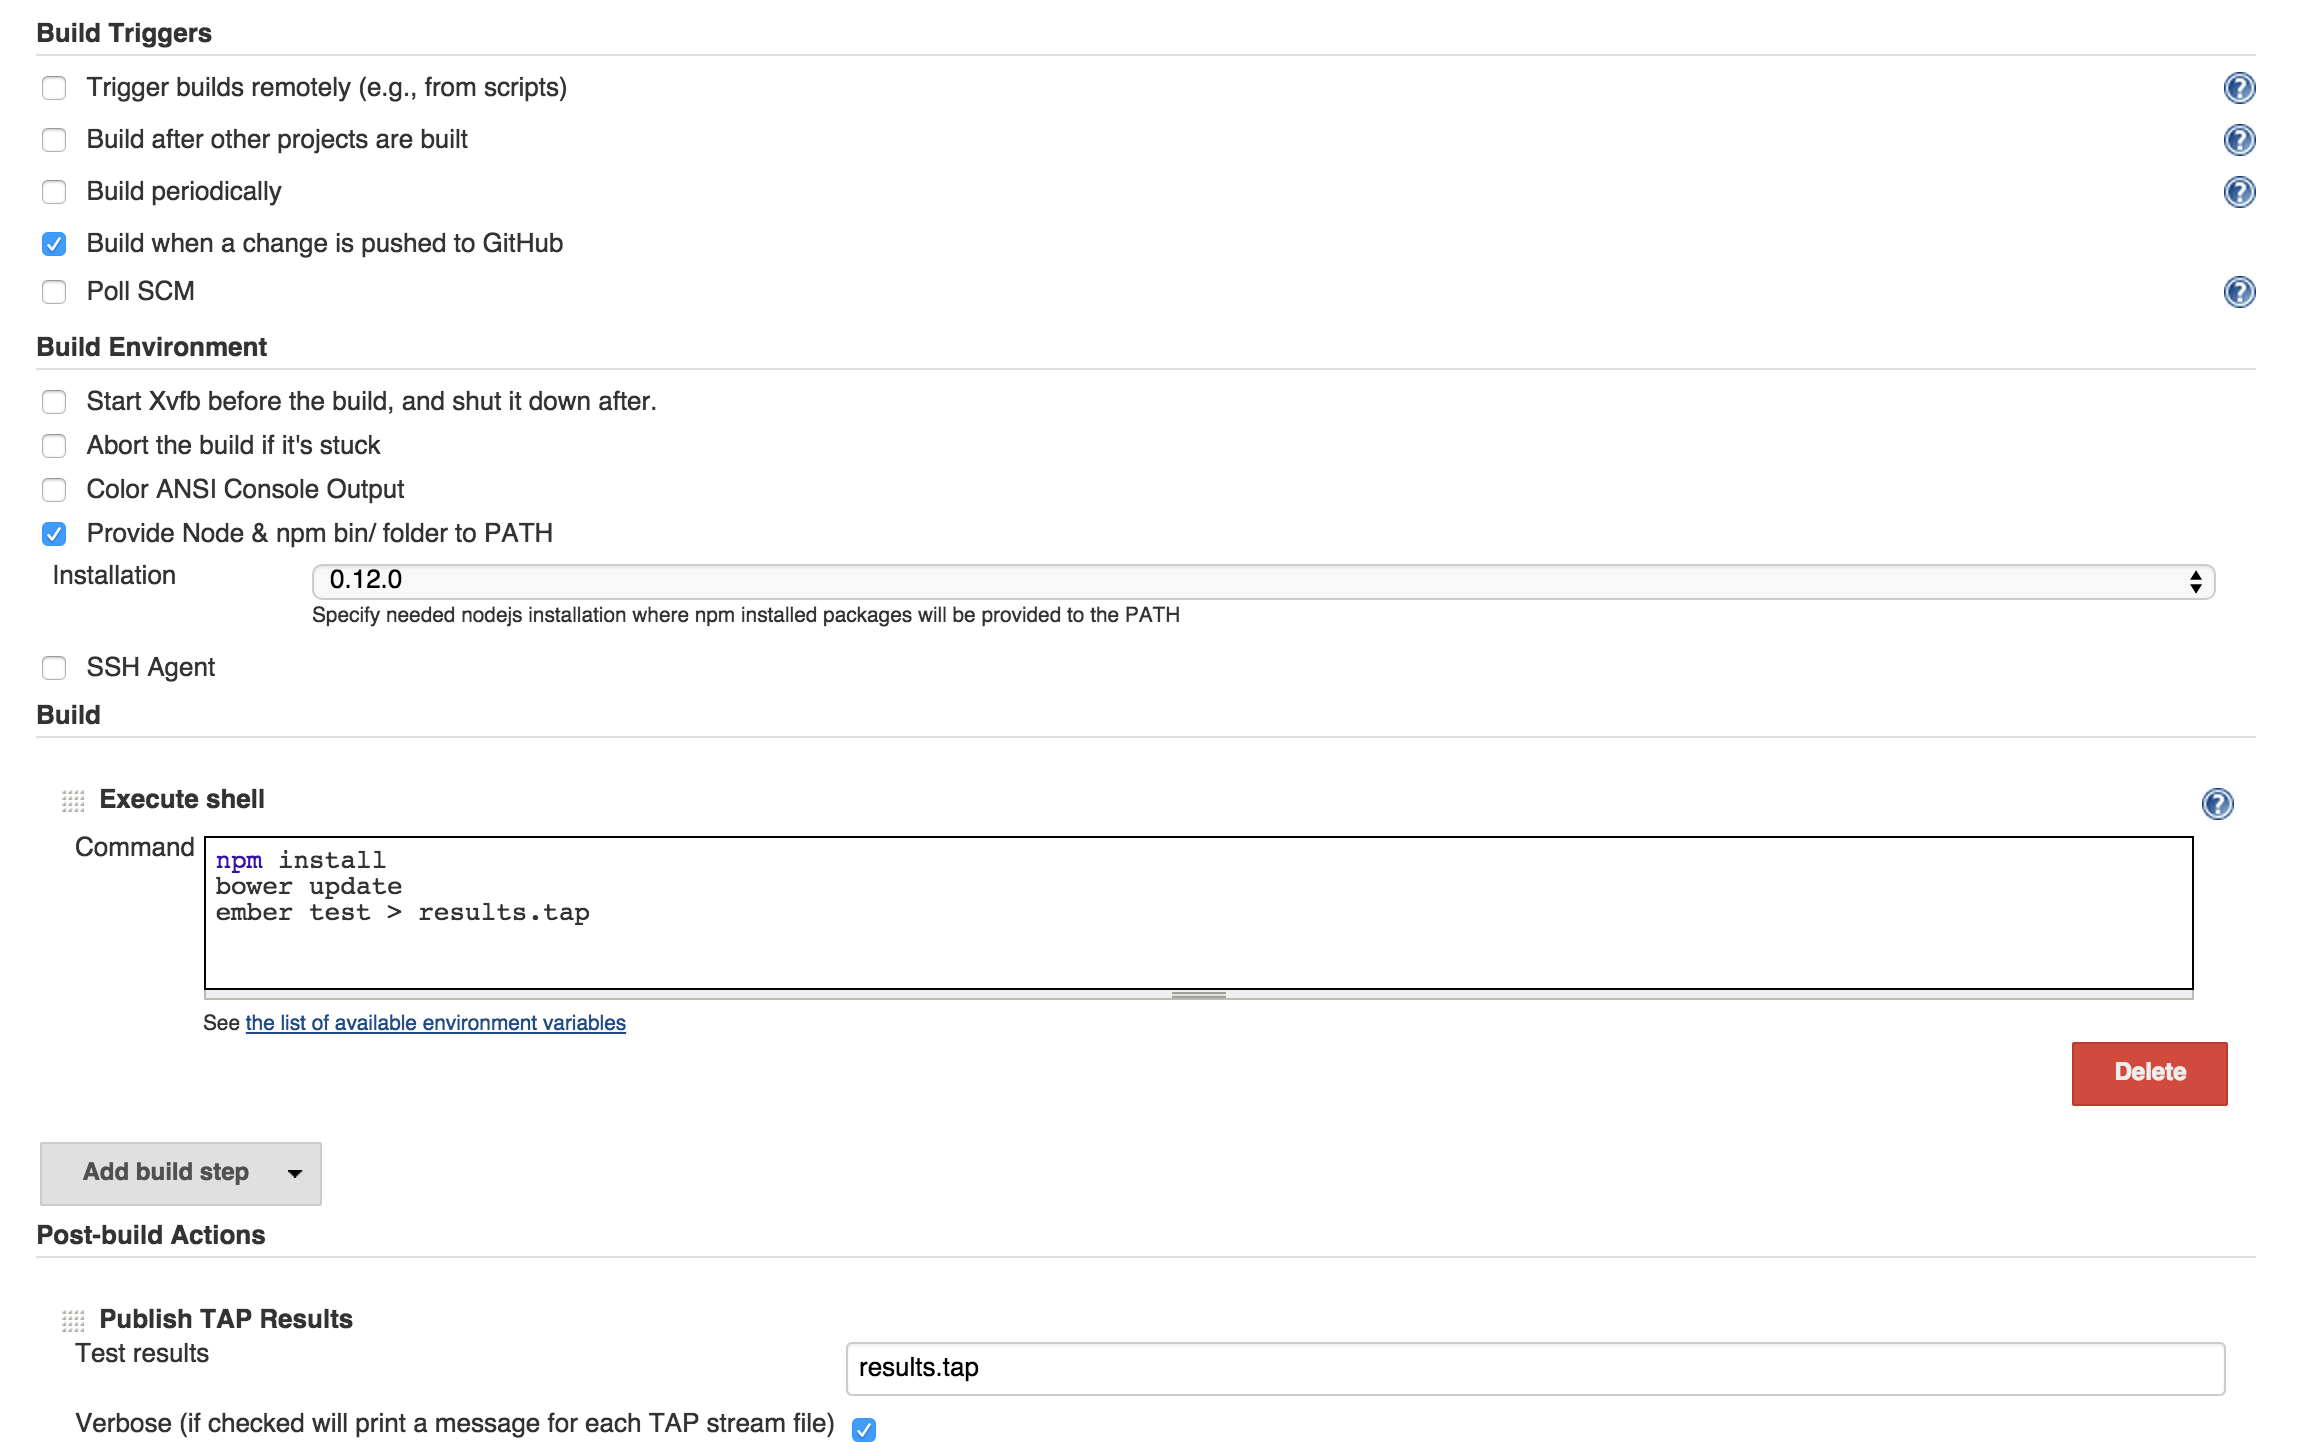
- Setup the Git Repository
- Check “Build when a change is pushed to GitHub”
- Check “Provide Node & npm bin/ folder to PATH” and select your installation (e.g. 0.12.0)
-
Click “Add Build Step” and use the following shell script:
npm install bower update ember test | tee results.tap - Click “Add a Post Build Action” and Choose “Publish TAP Results” pointing to your results.tap file you indicated in the shell script
-
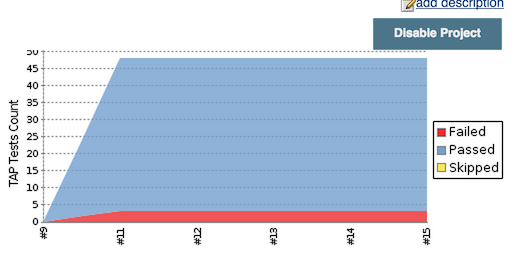
Run it! To test, you can click the “Build Now” button, and you should see your TAP results published.

Conclusion
At a high level, it’s pretty easy to get this set up. The portion that I couldn’t find documentation for was the piping
ember test output to a file for the plugin to pick up.